
Manage PTR Records
Overview
PTR (pointer) is reverse DNS: the name the internet sees when something looks up your public IPv4 address. Many mail servers and some services expect your PTR to look professional (often a fully qualified domain name, or FQDN, such as mail.example.com).
For mail and reputation, it is best practice that PTR and forward DNS agree: the IP’s PTR should point at a hostname that, in turn, resolves forward (A record) back to the same IP. If they do not match, some recipients may defer or reject mail or treat the host as less trustworthy.
You manage PTR in the NOC portal on IP Address Management for addresses on your account. You cannot set PTR for IPs you do not own through this page.
Before you change anything
- Decide on the hostname you want (an FQDN you control).
- Create/update forward DNS so that the hostname’s A record points to this same IPv4. Do this in your DNS hosting (zone for the domain), not only in the portal.
- Wait for DNS to propagate if you just created the record (often minutes, sometimes longer).
- In the portal, open IP Address Management, find the IP (search, service filter, or Ctrl+K), and expand the row or use Update reverse DNS where offered.
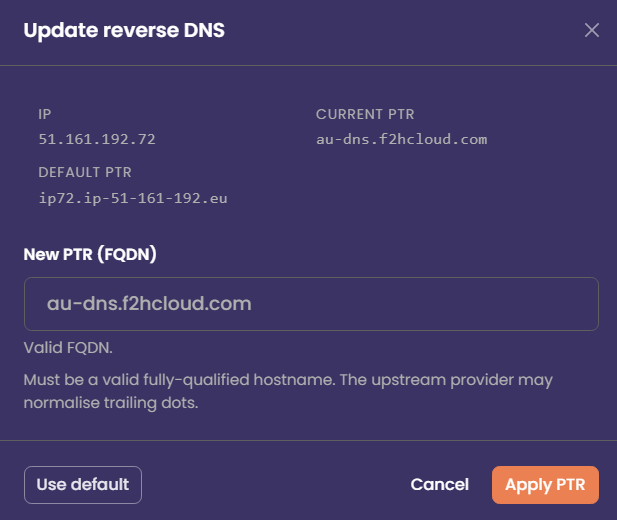
Set a custom PTR (single address)
- Open the IP’s PTR flow (expanded row, Save after editing the PTR field, or the Reverse DNS modal).
- Enter the new PTR as a valid FQDN (e.g.
smtp.example.com). Do not use bare words likemailwithout a domain; the portal expects a proper hostname format. - Confirm the value matches what you want the world to see and that your forward DNS (A) for that name already points to this IP.
- Click Apply PTR / Save. The portal sends the change to the API; the upstream API system may normalise the name slightly (e.g. trailing dot).
- After a few minutes, verify with an external tool (reverse lookup on the IP) or
dig -x YOUR.IPfrom your own machine.
Reset PTR to the default
- Open the same IP in IP Address Management.
- Use default (modal) or Reset (expanded row), depending on which UI you are in.
- Confirm the action. The PTR returns to the platform default for that service/IP.
- Allow a short time for the change to appear globally, then verify with a reverse DNS lookup if needed.
Use this when you no longer host mail on that IP, you used a temporary hostname, or a custom PTR is causing mismatch warnings.
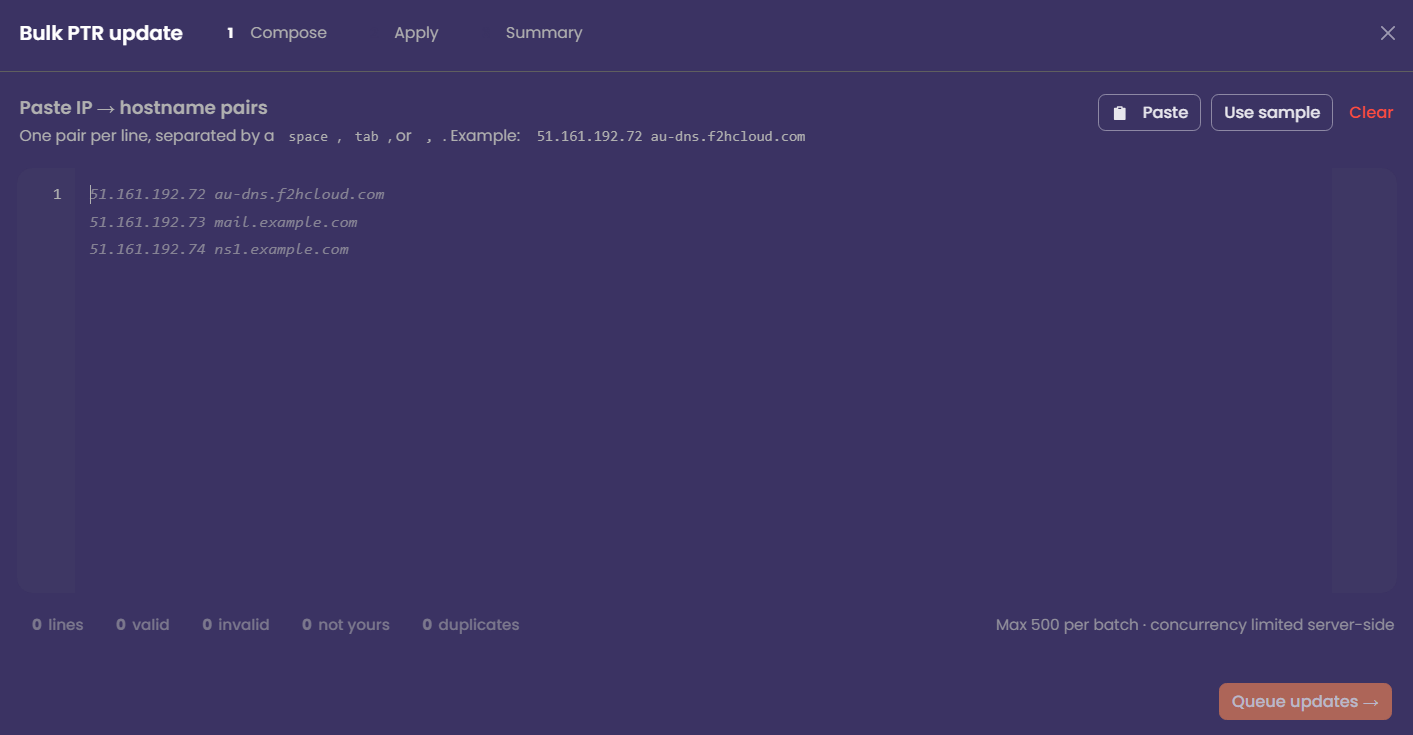
Bulk PTR updates
If you must align many addresses at once (e.g. after a migration), open Bulk PTR update, paste one IP and hostname per line (separated by space, tab, or comma), and review the counts for valid, invalid, and not yours before queuing. Only lines for your IPs are applied. The maximum batch size is 500 per run; large jobs are completed in a queue with a summary at the end.
Troubleshooting
Quick checklist
- Forward A (or appropriate record) points hostname → this IPv4
- PTR in the portal is set to that same hostname (FQDN)
- Verified with an external reverse lookup after propagation